 |
Shkyera Engine
Easy to use, game engine for Python
|
 |
Shkyera Engine
Easy to use, game engine for Python
|
The following guide will introduce you to all the essential concepts of the Shkyera Engine. By the end of this guide, you will be able to use the user interface, create new objects, components, write basic scripts and customize their behavior through the use of public variables.
Before we can create any game, you need to download the engine. You can easily do it by putting the following command in the terminal:
There are a couple of requirements, that are needed before building the project. That is:
Now, enter the root directory of the downloaded repository and run the following command:
This will make build.sh an executable. Now, we can easily build and run the project in the following way:
This can take a while, but the project should compile and you should see a window that looks somewhat like this.
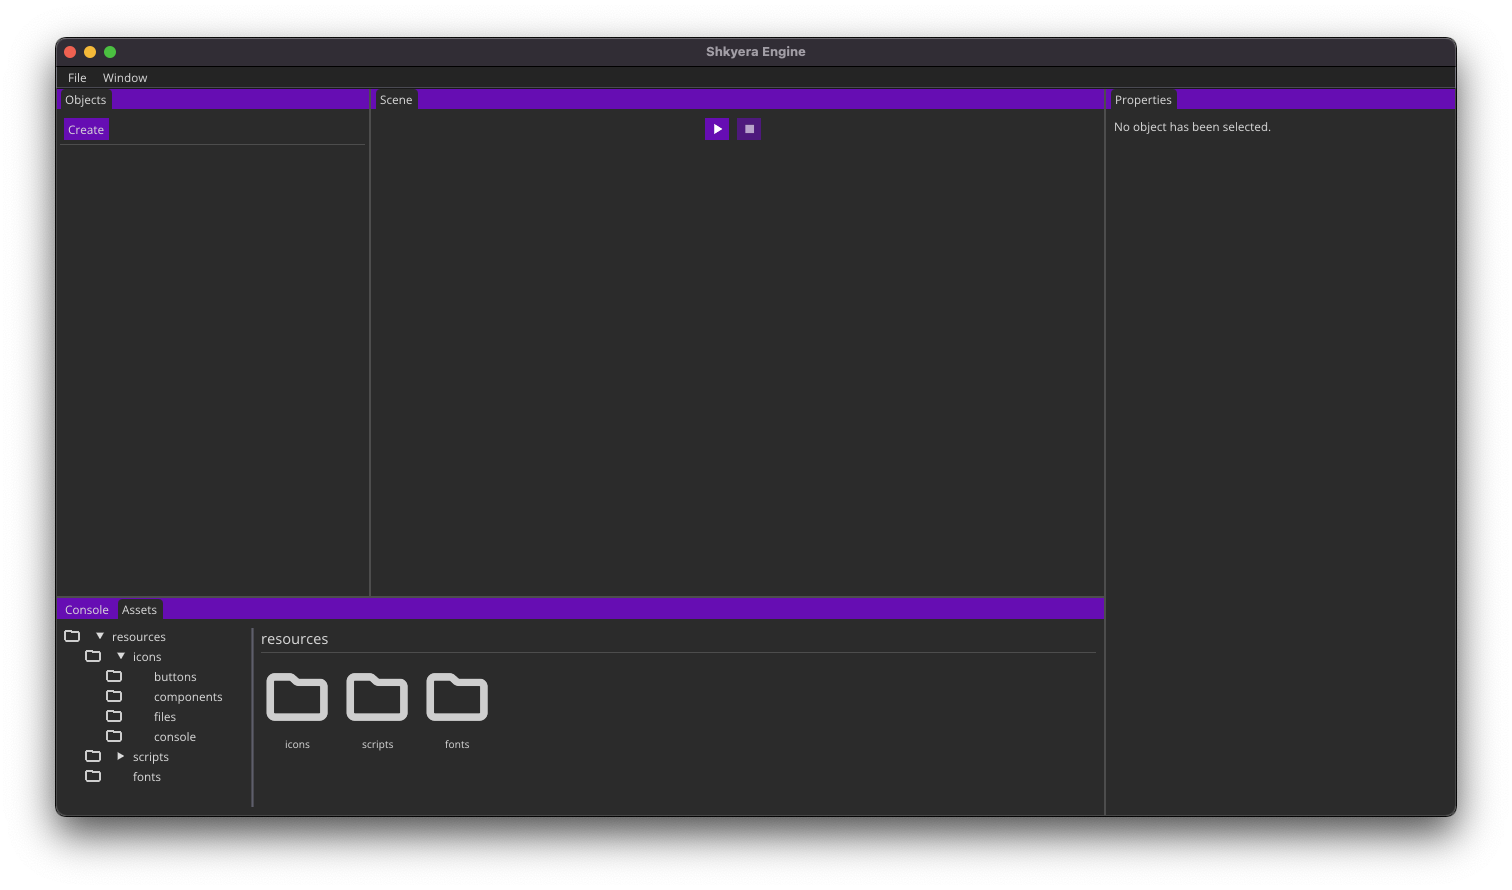
Nice! Now we can start building things!
We will begin by creating a simple program that writes Hello world! to the console.
On the top-left, in the Objects widget, click Create and then Empty Object.
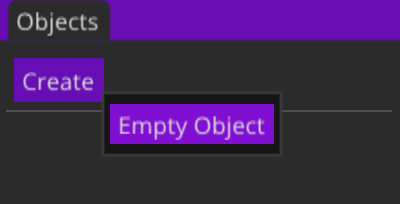
This will create a new empty object called Empty, which is visible in the same widget. You can create as many objects as you want. Internally, they all have unique identifiers, so do not worry about them having the same name.
To launch the game, press the ▷ button in the top-middle, Scene widget.
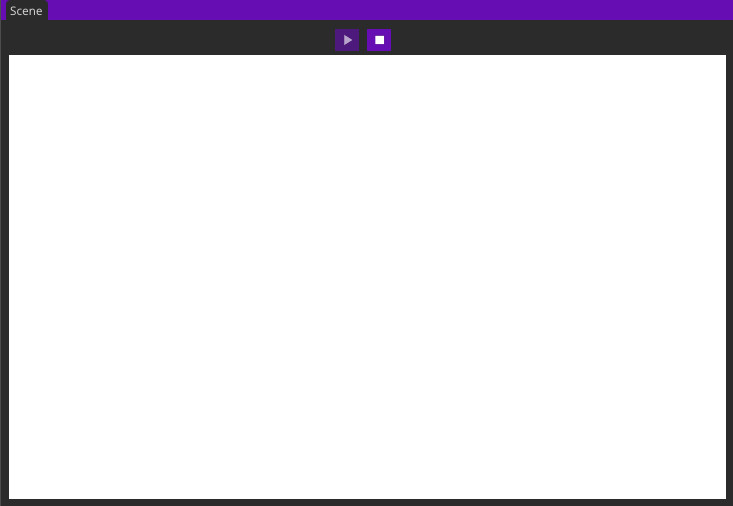
Wait, we see nothing. Kinda lame. That's okay, let's stop the runtime using □ button. We can continue to add some functionality to our boring object.
Click the Empty object. Now, the Properties widget displays all the information about that Object. We can see its name, as well as components. You can think of a component as a small piece of functionality that we can attach to objects. So far, our object only has a Transform component, which holds information about its position, orientation and scale.
Transform component has three dimensions, we do not support 3D concepts yet. We also do not support rotating or scaling. So only the X and Y positions are used. Yeeee, we do not really support a lot of features yet.
To add custom functionality, we need to add a Script component. To do so, click New Component and select Script. In the bottom, Assets widget, you can go through the file system, by clicking through the visible folders. If you want to create new folders and files, feel free to do so! Just click the right mouse button and select an appropriate option.
Let's create a script. Click right mouse button, select New File, leave the default file name and click Create.

Open the newly created file in your favorite editor. Unfortunately, Shkyera Engine does not support doing it directly from the app yet. Paste the code below into the editor.
ShkyeraObject as shown. Our class needs to inherit ShkyeraObject, it needs to be named Object and it has to contain methods called setup and update.The setup method is executed exactly once, at the intialization of the program. In our game, we want to print a message to console. This is easily done with the logger module. All you need to do is to import it at the top of the file.
Now, we can modify the setup method.
We want our object to remain idle, so we define our update function to do nothing.
Save the file and come back to Shkyera Engine app. Make sure the properties of Empty are visible and that you can see the Script component. Now, drag and drop the file we just created.
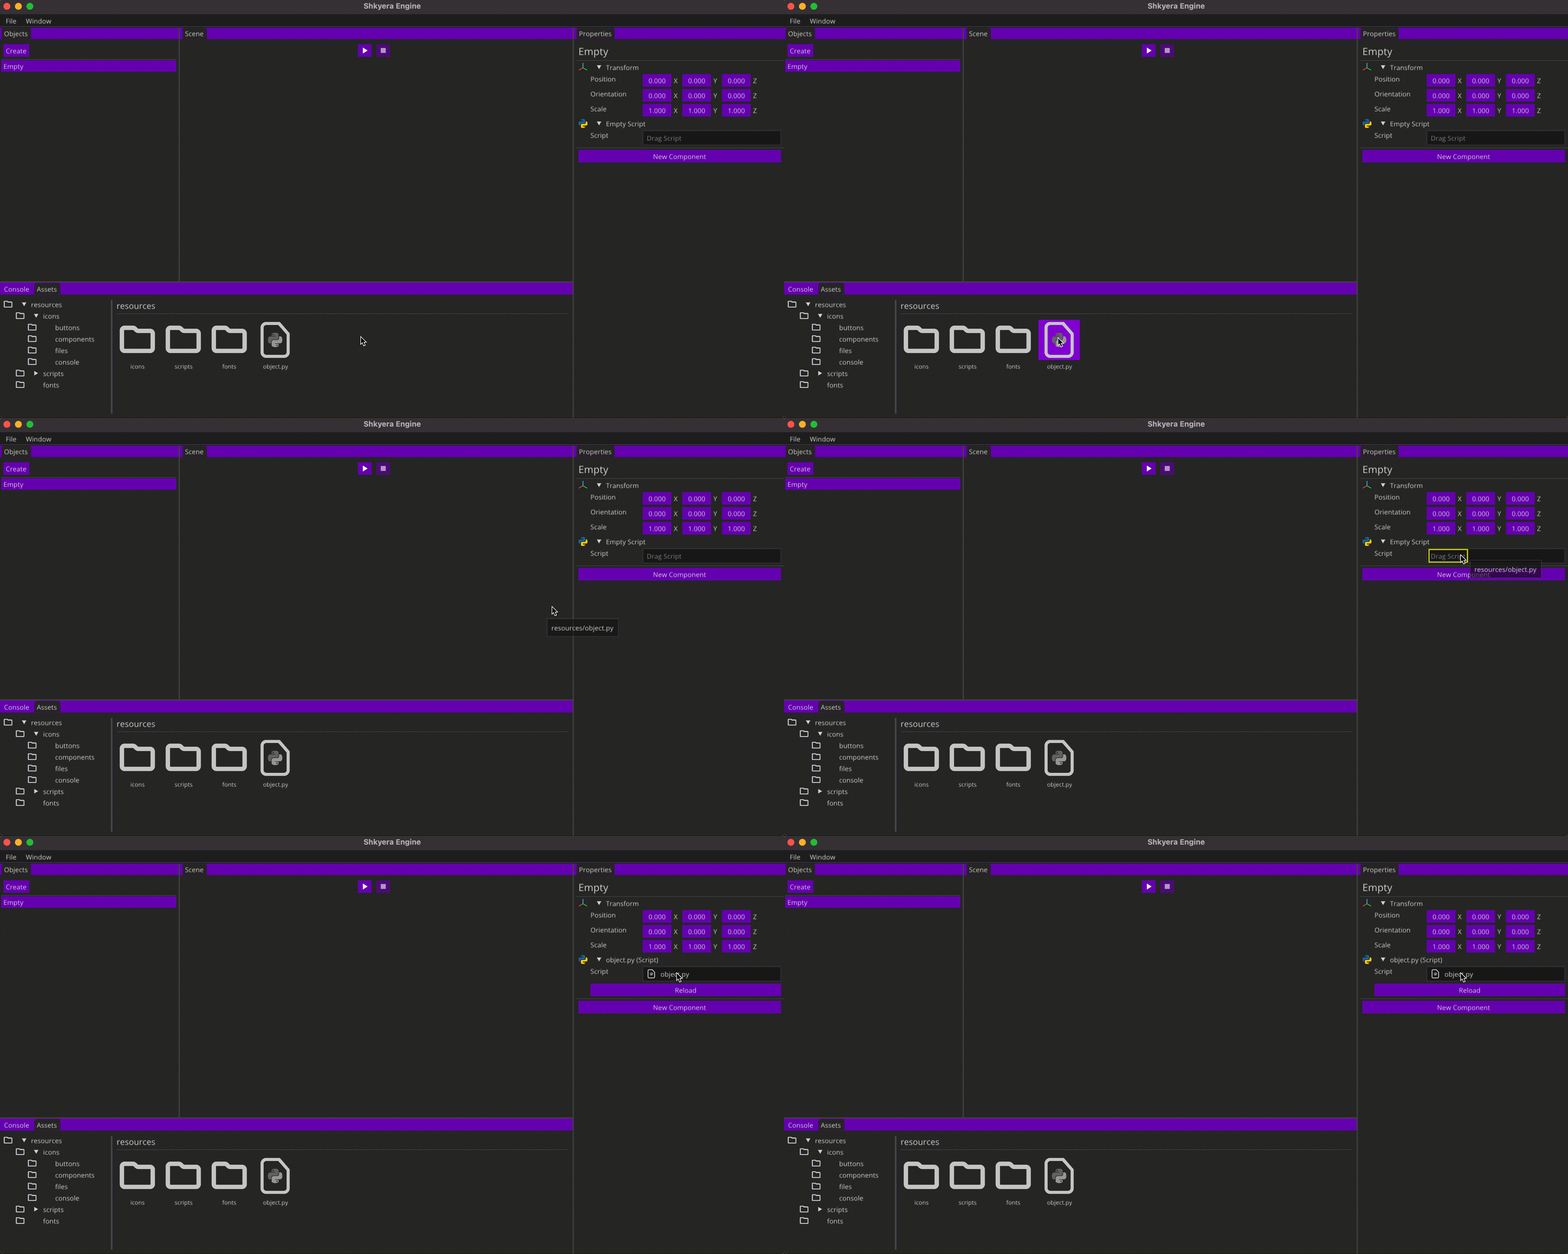
Do not worry about the Reload button for now. We will come back to it later. Enter the Console widget at the bottom of the screen. This widget holds all the information that either you or the engine decided to show on the screen. Both your logs and the errors are shown here. So far, we can only see a message that our Empty object was successfully created.
Let's test our program! Press ▷ in the Scene widget. You should see the Hello world! message pop up in the console. You can use Clear button to remove all the message from the Console.

There are multiple types of logs. For our message, we used the one representing success. If you want to show different messages, use log_error, log_info and log_verbose in your scripts.
Congrats! You have just made your first program in Shkyera Engine. But wait, we can do more! What if we want to have a custom message? And what if we want to print this message exactly 17 times? To answer this important question, we present to you: public variables!
Let's go back to our script. We add two member variables to our object. One of them is going to hold the message we want to log, the other one will hold the number of times we want to log that message.
You can use either str (text), int (whole numbers) or float (decimal numbers). Let's update our setup method to print the Message exactly Number number of times. Since we are great game developers by now, logging a message is not a success anymore, so we will log it as an information.
self. prefix before you try to access member variables.Now, if we go back to Shkyera Engine and press Reload on the Script component, we should see the fields that allow us to alter the values of the public variables. Let's set these values. To set the Number, you can hold and drag the purple field or double-click it and type the number manually. The Message can be set by typing inside the corresponding purple field. Let's set Number to some positive value and define some Message.
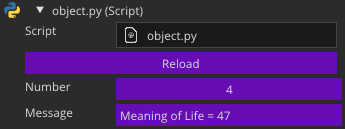
If we Clear the Console widget and run the program using the ▷ button, we should see our Message be logged exactly Number amount of times.
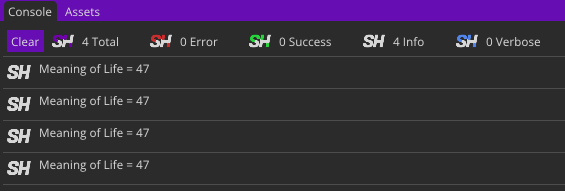
Congrats! You got the basics. Feel free to go to the Sample Projects tab and follow along to learn more advanced concepts.